
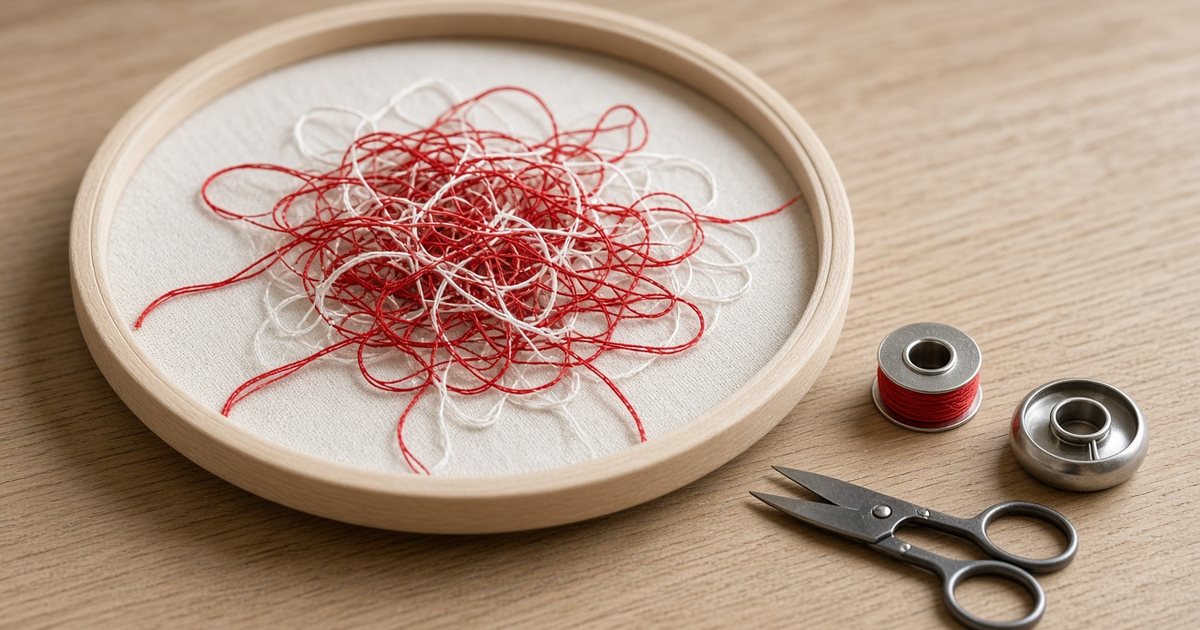
A bird nest—a tangled wad of thread under the hoop—stops production and tempts you to cut blindly with scissors. Nests are messy but diagnosable. Almost always they trace to bobbin problems, top-thread path errors, or tension imbalance—not a haunted machine.
What a bird nest signals
The hook cannot pull the top thread loop around the bobbin case correctly. Instead of forming stitches, thread accumulates under the needle plate. You may hear loud clicking or see the hoop jerk before the machine stops.
Step 1: safe recovery
Stop the machine immediately. Do not pull fabric upward while nested—cut thread above the throat plate, remove the hoop, and open the bobbin area. Gently remove tangled thread with tweezers; never gouge the hook with metal tools. Remove the needle plate if needed and brush lint.
Step 2: bobbin checklist
- Bobbin inserted in correct orientation (check manual diagram).
- Bobbin case tension spring not loose or missing.
- Bobbin thread wound evenly, not overwound or sloppy.
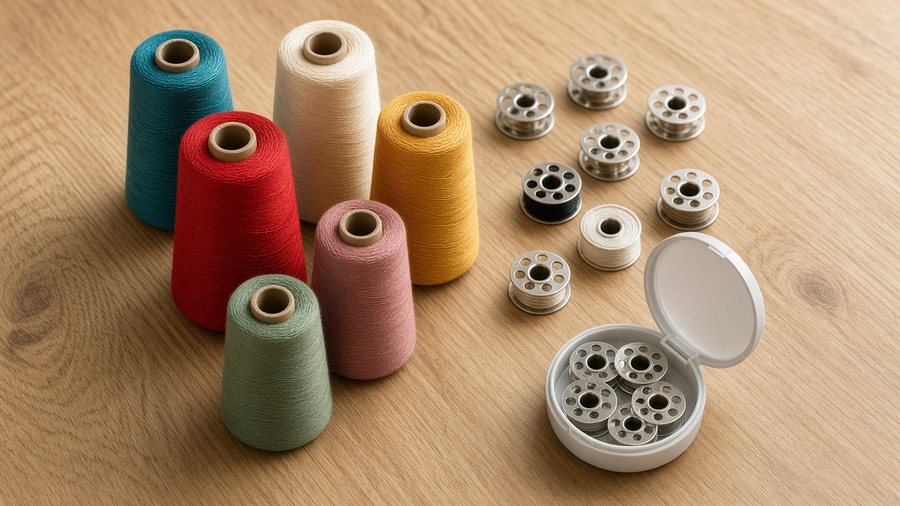
- Correct embroidery bobbin thread—40 wt top / 60 wt bobbin pairing.
Step 3: top thread path
Re-thread with presser foot up. Ensure thread clicks into the take-up lever. Leave a three-inch tail behind the needle before starting. Confirm spool cap size—thread catching on spool slits causes intermittent nests.
Hold top and bobbin thread tails gently for the first two revolutions on difficult fabrics so the first loop forms cleanly.
When nests repeat on one design
Extremely short stitches or corrupted files can nest at color changes. Test a built-in font letter on scrap—if clean, suspect the purchased file. Pair with thread troubleshooting if breaks accompany nests.
Can old bobbin cases cause nests?
Yes—worn tension springs slip. Keep a spare case for production machines.
Does speed matter?
Starting too fast before the first stitch locks is a common nest trigger—use slow start if your model offers it.
Reliable stitch files reduce machine stress.
Shop Tested Designs
Add Comment